If you step away from the glowing screens that dominate our modern workdays, walk into a quiet kitchen on a slow Saturday morning, and wrap your fingers around a warm ceramic mug of herbal tea, you can feel a deep, collective shift in human consciousness. We are collectively exhaling. We are utterly exhausted by the frantic rush of fast consumerism, endless online notifications, and mass-market personal care products wrapped in sterile plastic that sit on store shelves without telling any real story.
As we navigate through 2026, a profound, beautiful renaissance is taking root in home kitchens, sunlit backyards, and creative urban studios across the globe: the sacred art of making everyday essentials with our own two hands. There is something intensely grounding, almost meditative, about measuring raw plant oils, working with mineral-rich lye, and pouring creamy, botanical soap batter into wooden loaf molds.
Making your own cold-process soap at home is not just a passing weekend hobby or a trendy DIY project; it is a deliberate, soulful act of reclaiming your personal autonomy, nurturing your family’s skin ecosystem, and honoring ancient ancestral traditions. Whether you are looking to eliminate hidden synthetic detergents from your daily routine or simply longing for a tactile creative outlet that calms an overactive, screen-fatigued mind, this comprehensive guide will walk you through every single step of crafting pure, nourishing botanical soap right from your own kitchen counter.
The Philosophy of 2026 Soap Crafting — Rooted in Earth and Botanical Purity
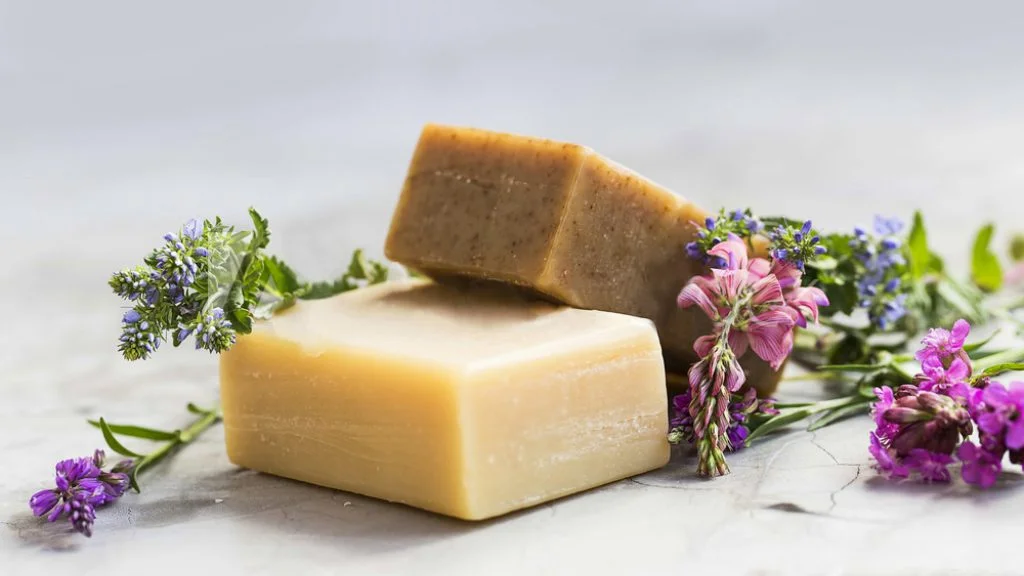
Before we pull out our immersion blenders, digital scales, and safety goggles, let’s pause to reflect on the mindset driving the modern home-craft movement. For decades, commercial supermarket soaps were filled with hidden chemical cocktails—harsh petroleum detergents, synthetic foaming agents like sodium lauryl sulfate, and artificial fragrance oils laced with hormone-disrupting phthalates that strip the skin’s natural lipid barrier right off your body.
When you choose to craft your own soap at home, you take back absolute control over what enters your personal physical ecosystem.
The Botanical Philosophy: We look straight to the olive grove, the shea tree, and the apothecary garden for inspiration. We embrace the ancient art of saponification—the magical, chemical-free alchemy where simple, wild-harvested plant oils and mineral-rich lye transform into a rich, conditioning lather that feeds your skin the way fertile, rain-soaked soil feeds a growing garden.
The Mindful Perspective: Making soap forces you to slow down. You cannot rush the thermometer, you cannot bypass the curing weeks, and you cannot fake patience. It teaches your racing mind to live in the present moment, watching liquids thicken and temperatures stabilize just like the steady rhythms of the natural world.
Understanding the Sacred Trinity of Cold-Process Soap
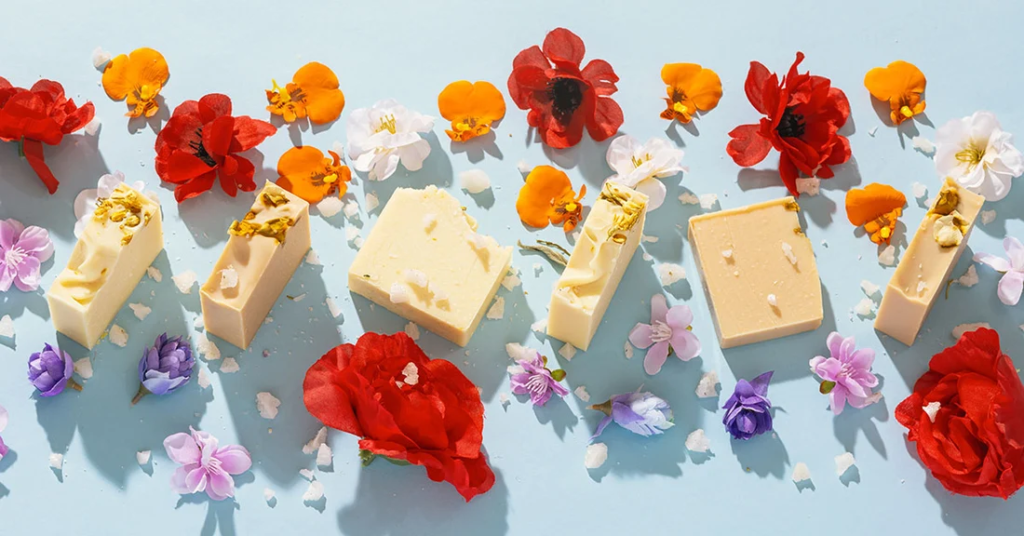
Soap making is where kitchen chemistry turns into pure, tangible magic. While the word “lye” (sodium hydroxide) can sound intimidating or dangerous to absolute beginners, cold-process soap making is a deeply rewarding craft that has been practiced by human hands for millennia. Every magnificent bar of handmade soap relies on a careful, harmonious balance of three foundational ingredients:
Plant Oils and Butters (The Nourishing Base)
Different plant oils bring completely unique personalities and physical attributes to your finished soap bar:
Olive Oil: The legendary foundation of traditional Castile soap. It provides deep, gentle conditioning, a soft conditioning feel, and an extraordinarily gentle lather that even babies can use.
Coconut Oil: The heavy lifter of big, bubbly, sparkling cleansing power. It cuts through grime effortlessly while adding wonderful hardness to the bar.
Shea Butter and Cocoa Butter: Luxurious additions that bring a silky, moisturizing cushion, creamy stability to the bubbles, and a hard, long-lasting bar that won’t melt away too quickly in your shower.
Castor Oil: A humectant oil that draws moisture to the skin while creating a rich, creamy, meringue-like lather when paired with coconut oil.
Distilled Water (The Liquid Medium)
Water acts as the vital solvent that dissolves your sodium hydroxide crystals and allows the magical saponification reaction to take place evenly across every single drop of oil.
Sodium Hydroxide / Lye (The Mineral Catalyst)
Lye is a powerful mineral compound derived from salt and water. Without lye, plant oils would simply remain oily liquids forever. Lye is the catalyst that transforms liquid plant oils into solid, cleansing soap molecules. Once your soap goes through the complete curing process, zero active lye remains in the finished bar—leaving behind only pure soap and natural, skin-loving vegetable glycerin.
Designing Your Signature Botanical Soap Recipe
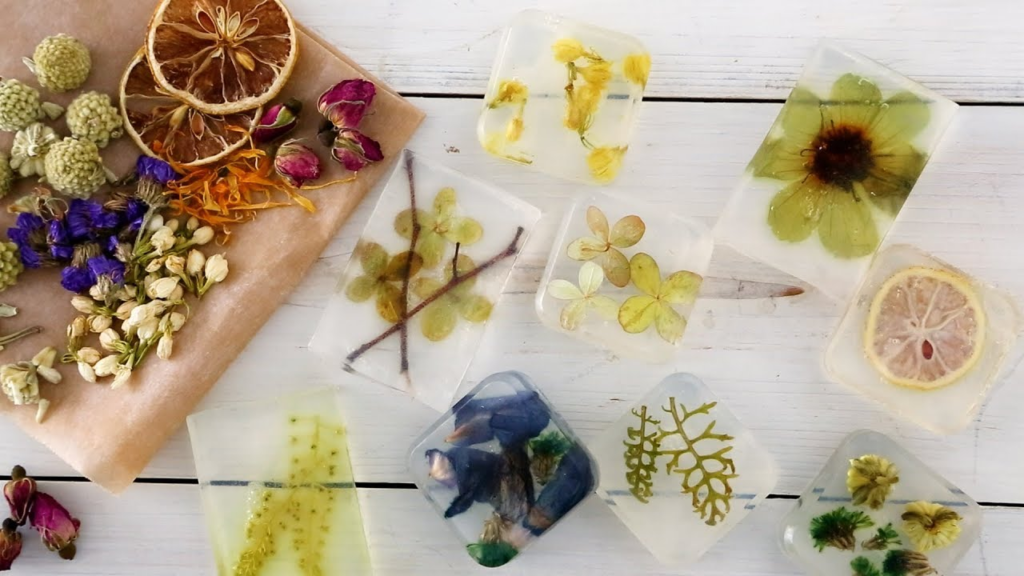
When you formulate your own soap from scratch, you have total creative freedom to customize every single attribute to suit your unique skin type or seasonal needs:
For Dry Winter Skin: Design a high-olive-oil recipe (often called a near-Castille bar) superfatted with extra unrefined shea butter. This wraps your winter skin in a protective, comforting moisture blanket that fights off the dry indoor heating winds.
For Oily or Balanced Skin: Infuse your base carrier oils with French green clay, mineral-rich pink kaolin clay, or activated charcoal to gently draw out urban impurities without stripping your skin’s natural balance.
For Sensitive or Reactive Skin: Keep it completely fragrance-free and color-free. A simple blend of organic olive oil, coconut oil, and castor oil creates a whisper-soft bar that respects the most delicate skin.
Step-by-Step Cold-Process Soap Making Ritual
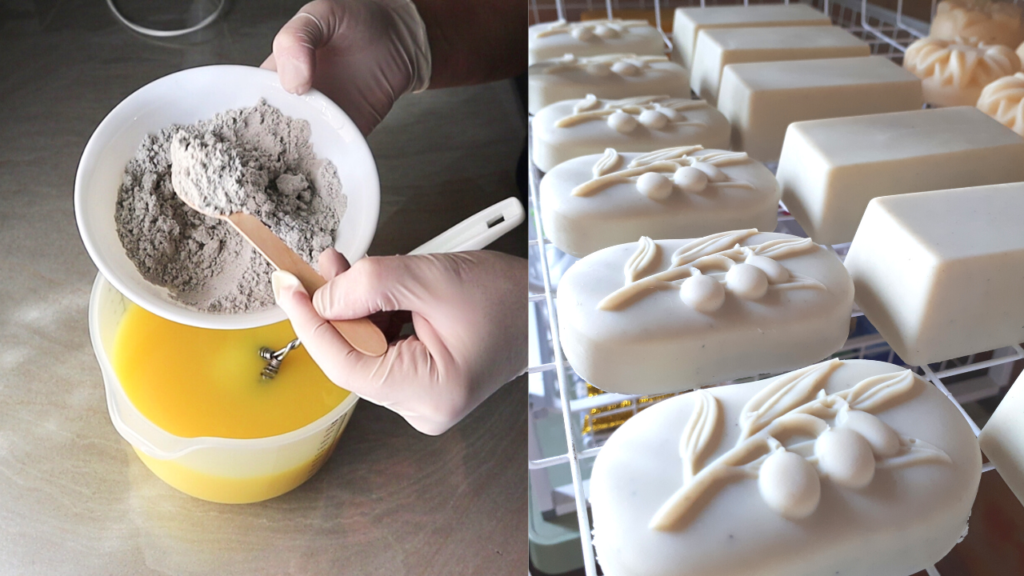
Working with lye requires respect, focus, and adherence to safety protocols. Treat this process with the quiet reverence of an ancient laboratory ritual.
Safety First and Workspace Preparation
Put on your safety glasses, thick rubber gloves, and a long-sleeved cotton apron. Clear your kitchen counter, ensure children and pets are resting in another room, and open a window to allow fresh air to circulate. Always work calmly and deliberately.
Mixing the Lye Solution
Accurately weigh your sodium hydroxide flakes on a digital kitchen scale. Slowly pour the lye flakes into your cold distilled water (never pour water into lye, or it can cause a violent splash). Stir gently with a silicone spatula as it heats up and clears. Set it safely aside in a draft-free spot to cool down to room temperature.
Melting and Blending Your Oils
Weigh your solid butters (coconut and shea) and melt them gently on low heat. Mix them together in a large stainless steel bowl with your liquid carrier oils (olive and castor oil). Let this mixture cool until it matches the temperature of your lye solution (ideally between 38°C to 43°C / 100°F to 110°F).
Bringing the Batter to “Trace”
Carefully pour your cooled lye water into the bowl of blended warm oils. Insert an immersion blender and pulse in short, controlled bursts while stirring manually. Within a minute or two, the liquid will thicken into a light, creamy pudding consistency—known in the soap community as “trace.” This is the moment your oils and lye have truly locked arms.
Infusing Botanicals and Essential Oils
At trace, gently stir in your natural mineral cays, botanical colorants, and pure essential oils (such as grounding cedarwood, calming lavender, or crisp eucalyptus). Watch the batter swirl and ripple like sunlight dancing across a forest stream.
Pouring and Thermal Insulation
Pour your creamy, fragrant soap batter smoothly into a lined silicone loaf mold. Tap the mold gently on the counter to release any trapped air bubbles. Cover the mold with an old wool blanket or thick towel to trap its natural thermal heat, allowing the saponification magic to work undisturbed overnight.
Unmolding, Slicing, and Curing
Unmold your solid soap loaf the following day. Slice it into thick, rustic artisan bars using a sharp wire cutter or stainless steel knife, and place them on a wooden drying rack in a well-ventilated room. Allow your soaps to cure undisturbed for four to six weeks. As excess water evaporates into the room, your bars will harden into heirloom-quality treasures that feel incredible in the hand.
Home Soap Crafting Master Reference Guide
| Soap Recipe Style | Core Oils Used | Best Suited For | Curing Time Required |
| Traditional Castile | 100% Pure Olive Oil | Ultra-sensitive skin, babies, minimal lather | 6 to 8 weeks (improves with age) |
| Balanced Everyday Bar | Olive oil, coconut oil, castor oil | Normal skin, everyday hand and body washing | 4 to 6 weeks |
| Rich Moisture Bar | Olive oil, coconut oil, unrefined shea butter | Dry skin, winter months, creamy lather | 4 to 6 weeks |
| Detoxifying Clay Bar | Olive oil, coconut oil, sweet almond oil, French green clay | Oily skin, back acne, gentle daily exfoliation | 4 to 6 weeks |
FAQ’s
1. Is making soap at home difficult for beginners?
Soap making can be learned by beginners when you start with a suitable method and follow the instructions carefully.
2. What ingredients are commonly used to make homemade soap?
Common ingredients include soap base or oils and butters, along with suitable fragrances, colors, and other optional additives.
3. What is the easiest way to make soap at home?
The melt-and-pour method is generally one of the simplest options for beginners because it uses a prepared soap base.
4. Can I add natural ingredients to homemade soap?
Yes, ingredients such as oatmeal, dried botanicals, cays, or suitable skin-friendly additives can be incorporated depending on the recipe.
5. What tools do I need for DIY soap making?
Basic supplies can include molds, heat-safe containers, a mixing tool, measuring equipment, and appropriate protective gear.


0 Comments